Car DIY Tips: Change Car Tires Yourself
Posted on July 21, 2022
One of the most common ways to ruin your day - a flat tire.
The first thing that may pop into your head is Can I Change Tires Myself??? What Do I Need to Change My Own Car Tires???
Knowing what to do when one of your tires is low/flat is considered by some to be item number one on “how to ‘adult’ ”. It is one of the most basic and important skills when you are a driver (or even a passenger). A low/flat tire doesn’t need to completely derail your day and is no reason to be dropping everything to tow your car to a mechanic.
Also, knowing how to change your own car tires for a seasonal swap, will save you money.
So, be it a slow leak, a total flat or time for your summer/winter swap - whether you are an expert looking for a refresher or a novice looking for full instruction - the following article is going to provide regular car maintenance tips on how to change car tires yourself - whether your tire is on a rim or if you are looking for instruction on how to replace the rubber too!

How Hard is it to Change Car Tires?
A DIY tire change on the majority of vehicles is simple to perform - the tools are more than likely already in your vehicle (yes, you read that right, maybe you never even realized your car came equipped with some very necessary tools to complete this basic task!).
However, even though swapping a tire is relatively simple, your tire may go flat in a location that is unsafe for you to be changing the tire - in this case you may be wondering, can I drive on a flat? The simple answer is, no. Driving on a flat tire can cause more damage and can potentially be very dangerous - so if you are in an area where it would be unsafe to change a flat tire, you should call roadside assistance at a minimum to bring you to a safe location.
Assuming you are in a spot that is safe enough to be on the outside of your vehicle - changing your own car tires will save the tire change costs associated with this car service.

How do you change a car tire without a machine?
Perhaps you’ve only seen tires be changed at a shop where there are air compressors, hoists, tire machines and so on - all necessary equipment if you are a mechanic making a livelihood out of car repairs - but even without all the machinery, as we noted above, your car likely already contains the tools needed to change your car tires if you are replacing with the spare and/or if you are replacing with tires already on rims. If you have the rubbers of the tires but only one set of rims and you are looking to replace just the tire, you’ll need a few more tools and advanced skill level - this is not something to do roadside as an emergency repair.

In the following section we will take you through how to complete both of these activities:
How to Change Tires on Rims
Whether out of necessity due to a flat or part of regular maintenance due to a change of season, here are instructions on how to change your tire using the basic tools available in your vehicle (typically found along with your spare - which is generally found under the carpet of your trunk/hatch):
NOTES:
Always consult your owners manual for specific instructions on how to change the tire of your specific vehicle first some items that do not come with your vehicle but are helpful if on hand: flashlight, small 2x6 piece of wood, raingear, gloves, wheel wedges/bricks if this is an emergency tire swap make sure you are in a safe location, put your hazards on and take extra steps to ensure you are visible to nearby traffic if on the roadside or even in a parking lot (flares, cones, bright coloured fabric that can be waving from a window, etc)
Step 1: Ensure you are in park if in an automatic vehicle and always apply your parking brake
Step 2: Place wheel wedges behind the wheels that will remain on the ground (bricks or large stones can work if you do not have wheel wedges) - front wheels if you are changing a rear wheel and rear wheels if you are changing a front
Step 3: Remove hub cap or wheel cover if your vehicle has - if your lug nuts are exposed skip this step. In most cases, using the flat end of your lug wrench will allow you to remove the hubcap. Some hubcaps need a different tool to come off and you should consult your owner’s manual for proper hubcap or wheel cover removal
Step 4: With your lug wrench, turn the lug nuts counterclockwise until you break their resistance. Force may be required - use your foot or all of your body weight if necessary. Lug nuts should be loosened about ¼ to ½ of a turn - don’t remove them completely yet
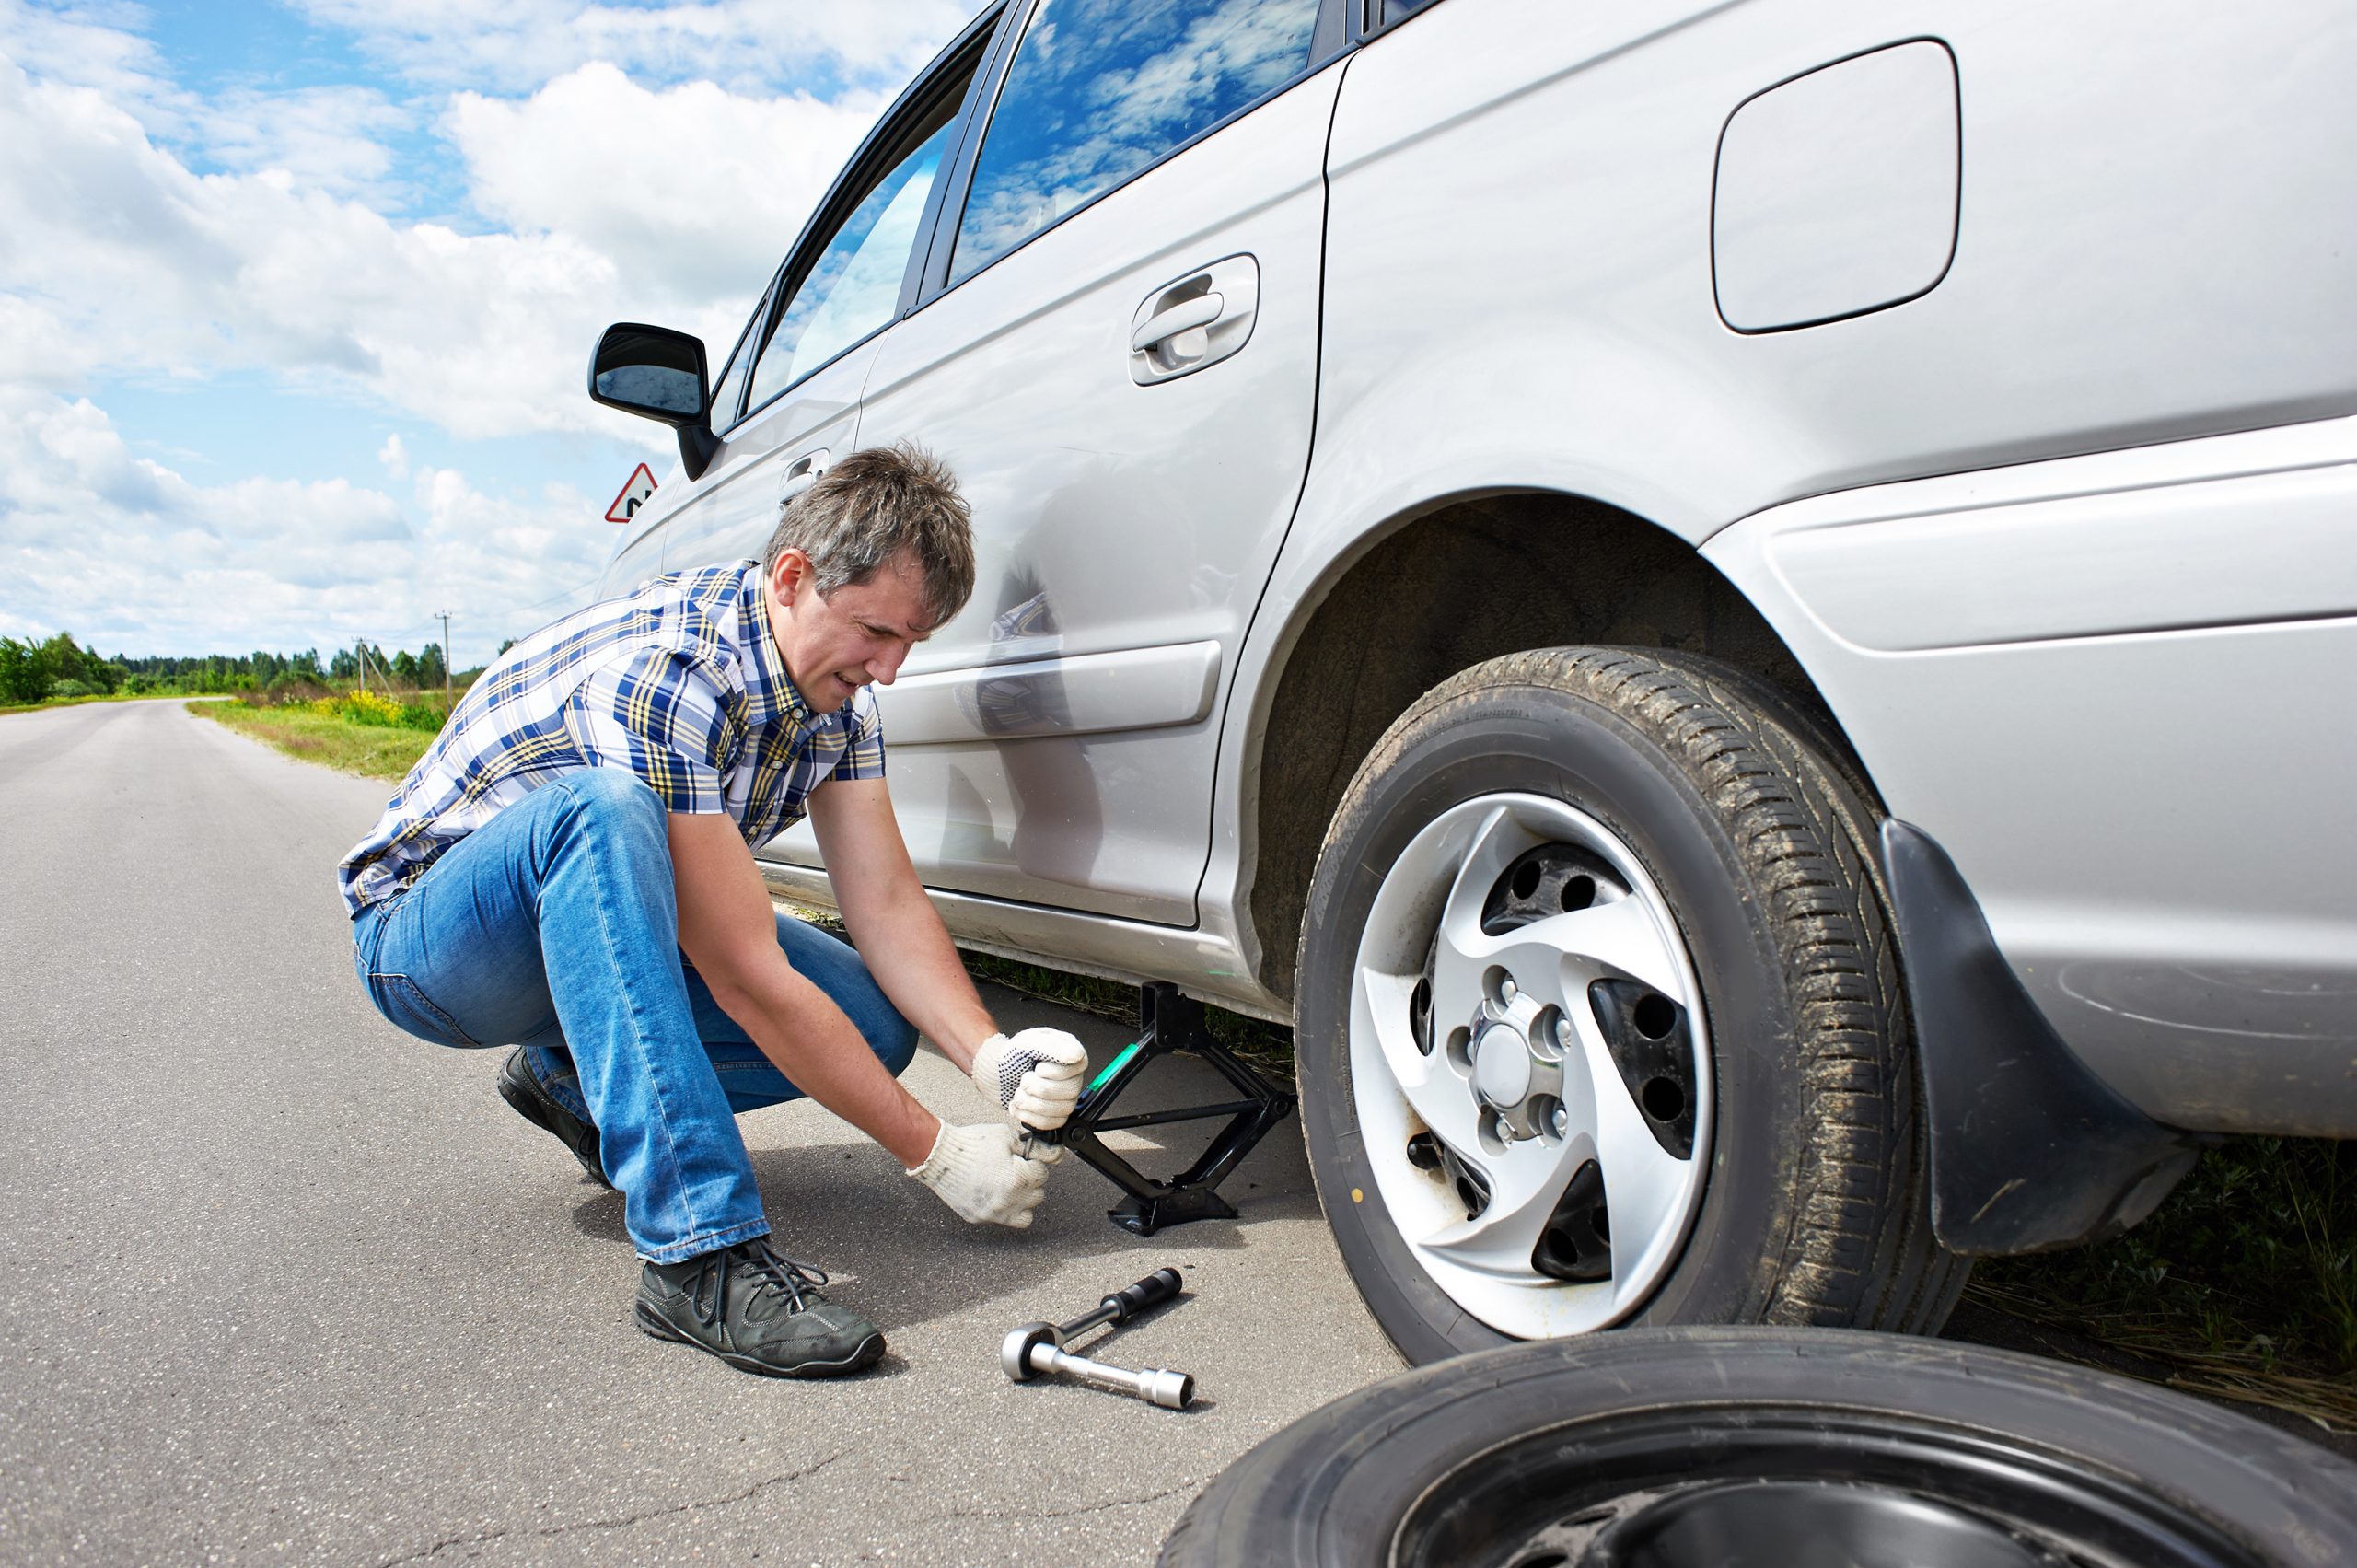
Step 5: Now it is time to place your jack. Where to put the jack when changing a tire? The right place is typically beneath the vehicle frame alongside the tire that’s flat. Vehicles often have frames that come with molded plastic on the bottom with a cleared area of exposed metal specifically for a jack. This is another time to refer to your owners manual to safely lift and avoid damage to the vehicle
Step 6: Now you can raise your jack, typically with a clockwise spinning motion - raise your vehicle until the flat tire is about half a foot from the ground. To reduce chances of the jack coming off balance, place a small cut of 2x6” wood beneath it before attempting to raise your vehicle if you have one. This tactic is especially helpful on asphalt. Never put any part of your body under the vehicle during or after raising the vehicle with the jack
Step 7: Now you can remove the lug nuts completely. Because they are already loose, you should be able to simply use your hands to unscrew the rest of the way
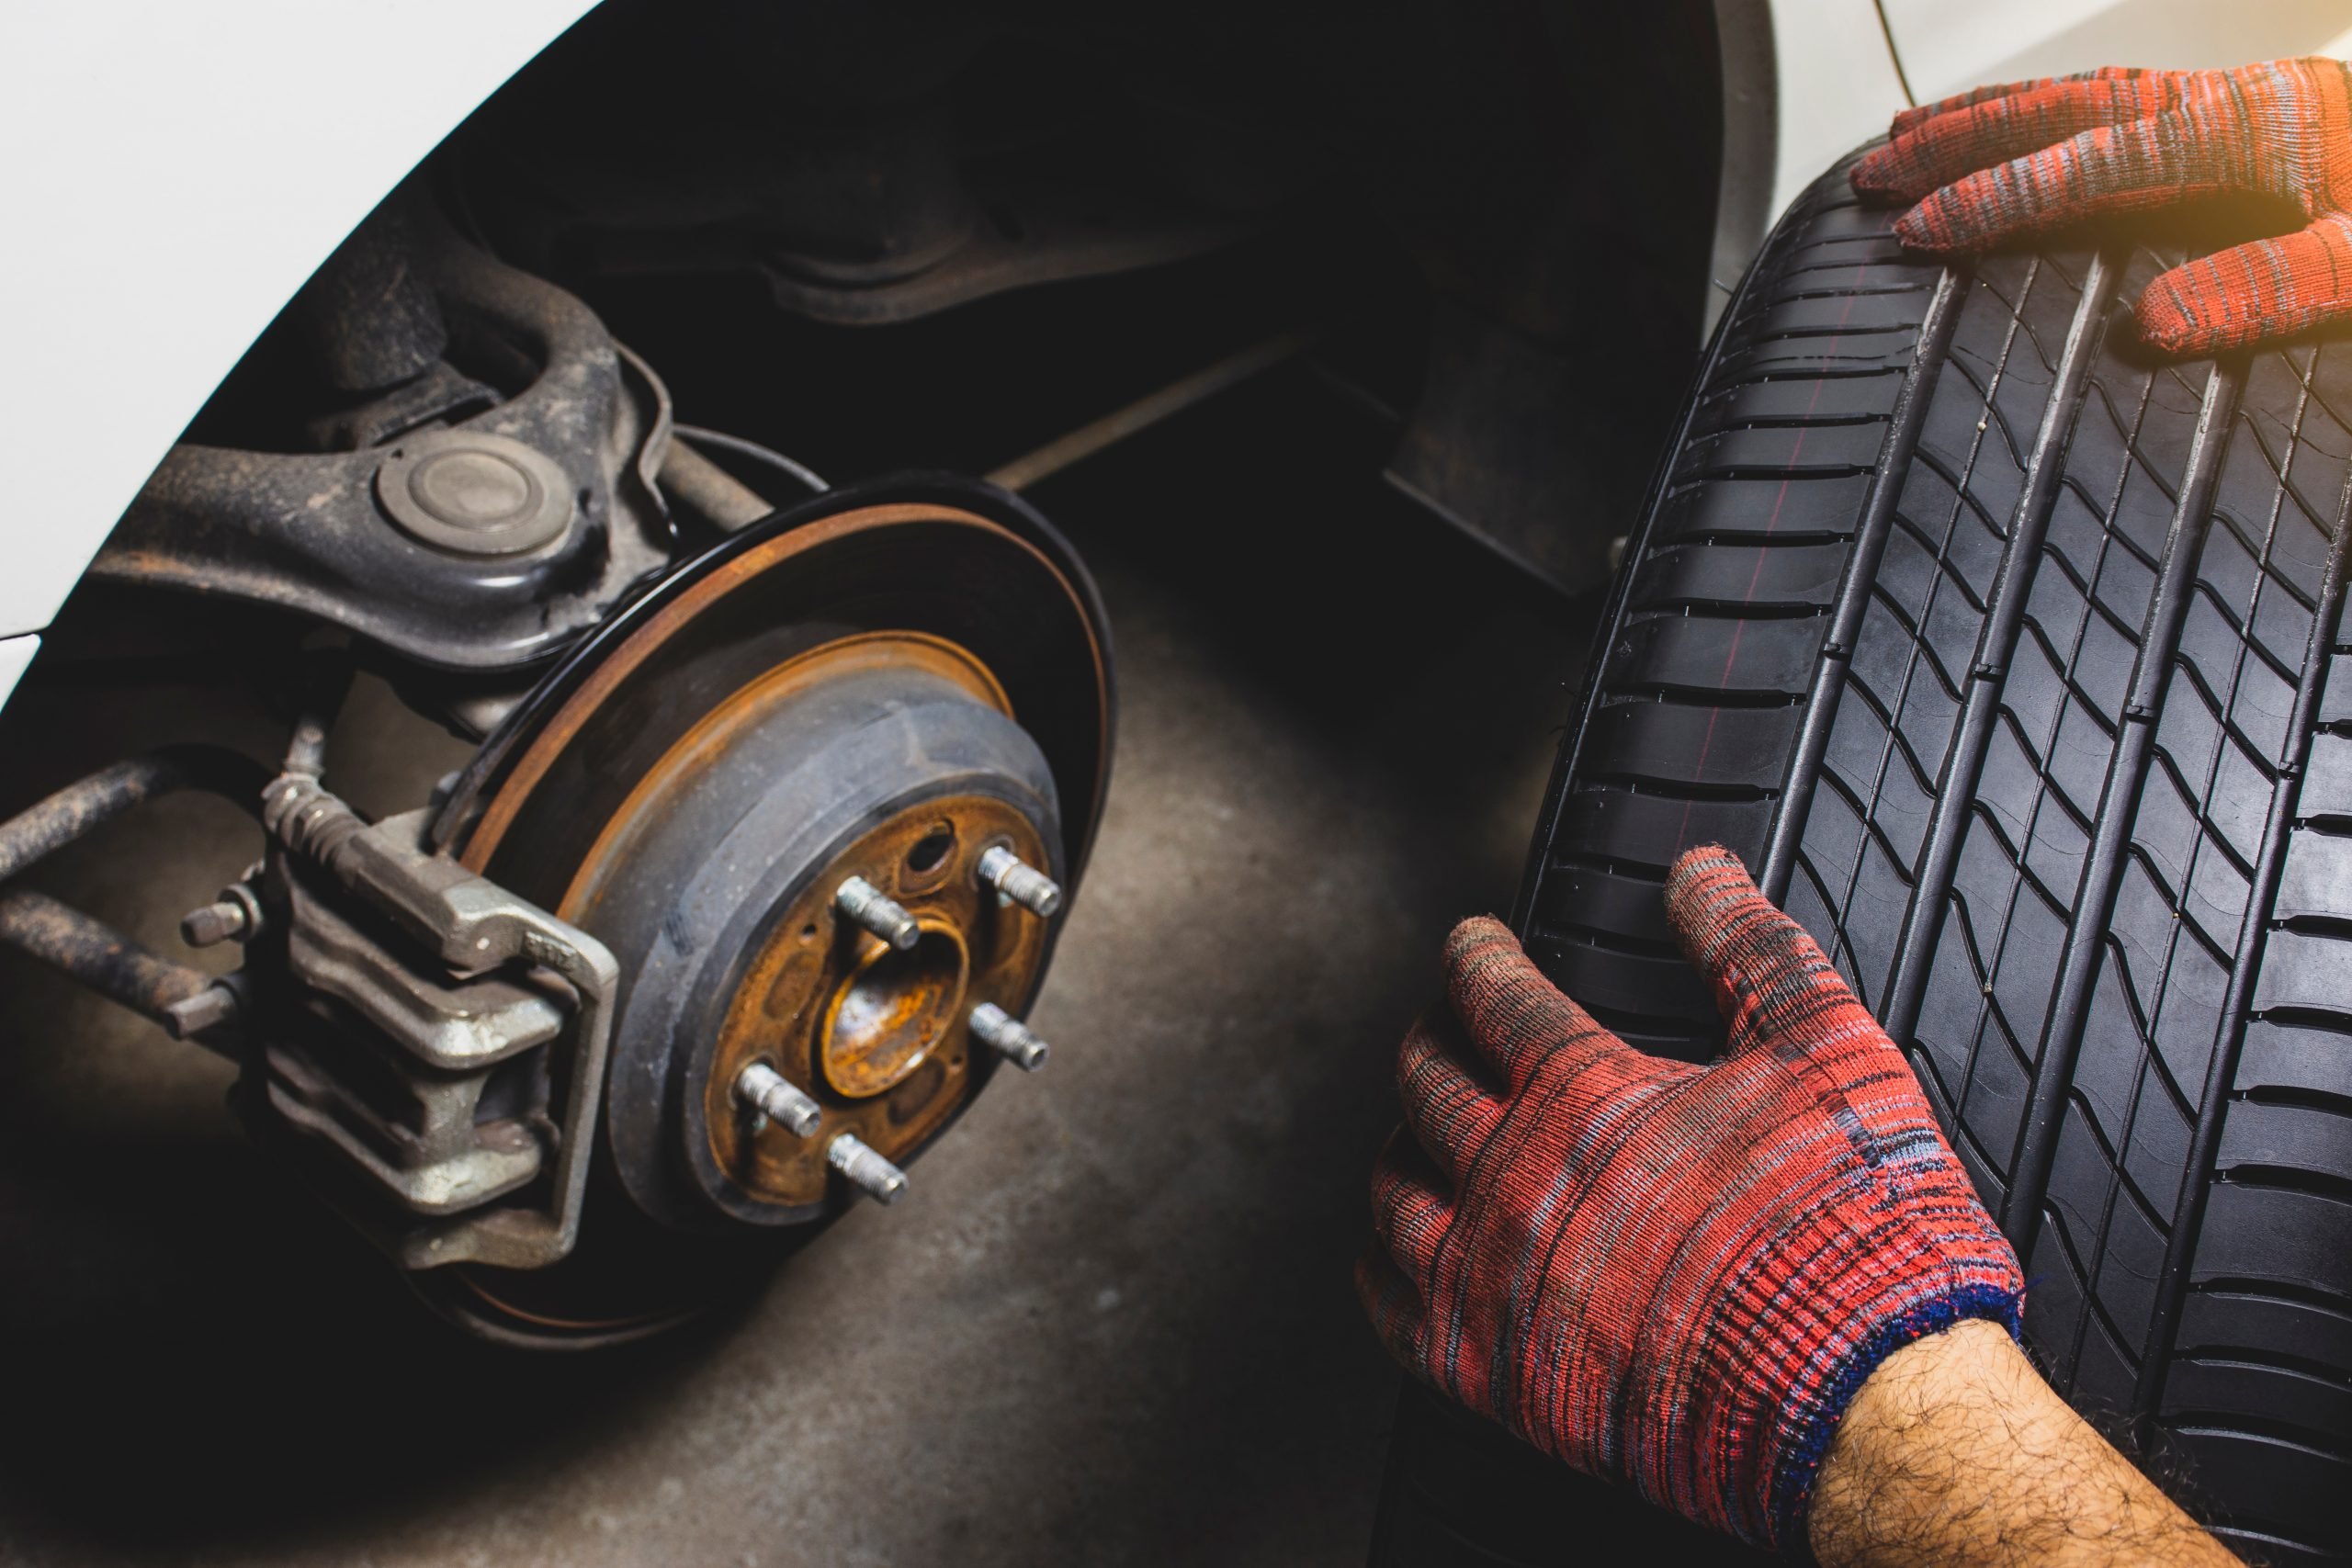
Step 8: Remove your flat tire by gripping at the treads, pull it gently toward you until it’s free from the hub. Set it on its side to avoid it from rolling
Step 9: Mount your spare/new tire by lining up the rim with the lug bolts and pushing gently until you can see the lug bolts showing through the rim
Step 10: Put the lug nuts back on and tighten them with your hands as much as you can - be sure to check each one at least once
Step 11: Use the jack to lower the vehicle until the tire is resting on the ground but the full weight of the vehicle isn’t yet on the tire. Tighten the lug nuts with the wrench, once again using your body weight to get them as tight as possible
Step 12: Lower the vehicle completely, remove the jack and try once again to tighten the lug nuts as much as physically possible with the wrench
Step 13: Replace your hubcap/wheel cover if you have one/it fits and/or you wish
Step 14: Make sure you put all items away
Step 15: Check the tire pressure of the new/spare tire and fill if necessary (for more instruction on how to inflate your tires, check this article out.
Step 16: If you have just installed a spare, be sure to repair/replace with a full size as soon as possible - spares are not meant to be driven at high speeds or for long distances
Changing car tires without rims
As mentioned above, mounting a tire on a rim is definitely for the more advanced DIYer. You will also need additional tools (a pry bar or two) and elbow grease. It is VERY easy to damage your tire, rim or yourself so our general recommendation is to proceed to an expert when needing to replace the rubber of your wheel(s).
Firstly, you’ll need to remove the tire currently on the rim:
Step 1: Deflate the tire using the core removal tool to remove the air cap. The air cap (or valve core) is the small pressure sealing device which is located on the core (where the tire is inflated from). You will need a Schrader/Presta valve tool to extract the air cap from the rim. Thread the tool inside the valve stem and twist counterclockwise. The cap should loosen and be removed - the air should then release from the tire
Step 2: Cut the bead off the tire. The bead is the edge of the tread near the inner circle that is reinforced firmly against the rim through braided steel cable and strong glue. Using a drywall knife or saw blade, cut by following the seam running alongside the bead, careful not to touch the metal rim. If you are having trouble with the bead (or you plan on doing this often), you can purchase a bead breaker tool which makes removing the bead more like operating a can opener
Step 3: Lubricate the edge of the rim. After the bead is broken, apply lubricant around the rim. It will be easier to pop the bead off the lip of the rim easily once everything is lubricated
Step 4: Using a pry bar and screwdrivers (or two pry bars), separate the tire from the rim. Lay the tire flat on the ground, make sure your pry bar(s) and screwdriver are nearby. Create an opening by stepping on the rubber while gently pushing the pry bar into the area to encourage an opening. Carefully lift the bead until it is outside of the rim. Hold it in place using your pry bar. Now you should grab your screwdriver (or second pry bar) and while keeping your initial pry bar in place, work your way around the bead to pull the rest on the other side of the rim.
Step 5: Pull the tire off the rim completely. While your tire is now loose and no longer connected to the rim, only one half of the tire is actually on the outside of the rim - you’ll now need to pull the tire off the rim by continuing the methods in Step 4 but with the other side of the tire
Once your tire is free from the rim, you can now replace the rubber:
Step 1: Place the rim on the ground with the outward facing side up
Step 2: Lubricate the bead and rim edge. Spray tire lubricant liberally onto the bead (the inner lip of the tire) and the outer edge of the rim. If you are looking at multiple sources, you may see the option to use dish soap or grease instead of tire lubricant - these are not great alternatives because dish soap doesn’t offer enough lubrication and grease is extremely messy and difficult to clean
Step 3: Position the tire onto the rim by placing it on top of the rim and then pushing or standing on it, working it over the edge of the rim. If standing/pushing the tire is not enough force, you can slide a screwdriver or pry bar between the bead of the tire and the rim and pull back, sliding the bead over the rim
Step 4: Get the other side of the tire under the tuck of the rim. Using your knees to keep one edge of the tire inside of the rim, slide your pry bar between the rim and tire, lifting it upwards to work the rest of the bead under the tuck of the rim, being careful not to scratch the rim in the process. Do not be afraid of using more tire lubricant during steps 3 and 4
Step 5: Fill tire with air to recommended PSI
It is very important to note that even a successful tire/wheel swap when done by hand may not ensure your wheels are balanced - you should definitely proceed to a location with a tire balancing machine especially if you feel any vibrations when driving. Unbalanced tires can cost you money as they lead to uneven tire wear and other expensive repairs (like suspension components). Book a time to have your wheels balanced by contacting us at carhub.ca/service/
Looking to purchase tire lubricant or tools for your next car tire change? Contact the Parts Department at carhub.ca/parts/
Decided you’d rather not be your own tire changer? Contact our Service Department to book an appointment at carhub.ca/service/
-Author Bio-
James Walker is a car nut and motoring writer with a love of all cars fast and slow. He drives a lot, and has been writing about cars for over five years.